

Root for LG G5 T-Mobile Version
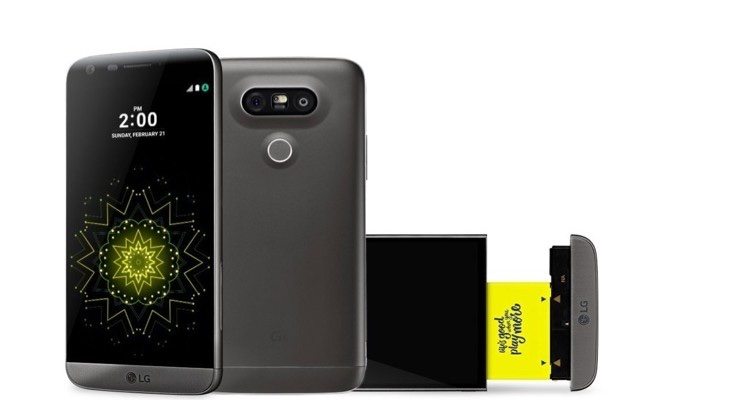 |
| LG G5 (H83010A) |
1. First, go to your LG G5 phone setting and scroll down to "About phone" enter and tap on "Software info" you should be able to see the software version of your phone. double check to match the correct version (H83010a) for the T-mobile variant. Continue on with the tutorial....
2. Now above the software version keep on tapping the build number until a message pop up "you are now a developer". Hit the back button twice to return back to the phone setting and go to the developer option and "enable oem unlock" & "usb debugging".
3. Now, download all the provided files at the bottom of this page. Once, all files have been downloaded install the "LGUnitedMobileDriver" first, then you can connect your phone to the computer with the USB type-C cable. Wait for your PC to install all the necessary files when you connect your phone. Then you can proceed to the next step.
4. Your phone should be able to do file transfer between the PC and your LG G5 after mobile driver has been installed on your computer. Check your phone notification for USB option and change to file transfer if it stay on charge only.
5. Go to device manager to check if the USB driver is installed correctly. It should be LG Mobile ADB Interface under Android phone driver. If not, then you need to manually install the mobile driver by double clicking "Android" under other device in the device manager. Click update and browse your computer for the driver software. Click on "let me pick..." then all devices. Next, go to "have disk" and browse your program files (x86)>LG electronics>LG mobile driver>lgandbus.inf and click open. Click "OK" and select LGE Mobile ADB Interface and hit next and click "yes".
6. Now, unzip the fastboot.zip file you downloaded in your download folder. Then open the fastboot folder and press the shift key on your keyboard and right click on your mouse to bring up the menu inside the fastboot folder with fastboot file. Click on "open command window here"
7. While the phone is still connected to the computer, on the command prompt, type "adb reboot bootloader" without the quotation mark and hit enter. Your phone should have a menu pop up and request for your permission to allow USB debugging on this computer. Click "Always allow"
8. When your phone is on fastboot mode, go back to your computer and type "fastboot oem unlock" without the quotation mark and hit enter. You should have successfully unlocked your phone bootloader. Now remove the USB cable and your phone battery.
9. Put the phone battery back in and while holding the volume up button down plug in the USB to your phone and the computer. When your phone boot up there will be a warning triangle message just ignore it and continue holding the volume up button down until you see a firmware update menu.
10. On your computer, install or run the "LGH830_DLL.msi" first, then run the "LGUP_Lab_Frame_Ver 1_11.msi" to avoid the unknown device error when you open the LGUP program. Meanwhile, unzip the LGH830AT-01-V10a-310-260-MAR-04-2016-ARB00+0FULLROOT file for the next step.
11. When you open the LGUP exe below the menu, choose the "upgrade" option. Then you click on the "BIN File" three dots show up and click on that to browse for "LGH830AT-01-V10a-310-260-MAR-04-2016-ARB00+0FULLROOT.tot" unzip file. Click start on the LGUP menu.
12. That is the stock firmware that contains root and twrp recovery. Wait for the upgrade to finish installing the firmware and when the phone boot back to the home screen remove the battery and put it back in. Don't power up until the next step.
13. On your computer, drag and drop the SuperSU.zip file and No-verity-opt-encrypt.zip file to your micro SD card. Put the micro SD card into your phone. Now, you can boot up your phone while simultaneously holding the volume down button and the power button down. Wait for the LG logo to pop up and let go off only the power button for 1 second. Then quickly hold back the power button down and if you have done it correctly, you should be able to see the Factory data reset menu. Choose "Yes" for all questions using the volume up and down to select and power button to enter.
14. You should be in the twrp recovery mode after you selected "Yes" for all questions on the Factory data reset menu. On twrp recovery mode, choose install and select micro SD card storage. Install the two files you put on your SD card earlier from step 13. Done! reboot your phone and you should have a fully rooted LG G5 T-mobile version.
If you see an error exist on the home screen go back to twrp recovery mode and wipe your phone data. Reinstall the No-verity and SuperSU files again. Reboot your phone and you shouldn't see an error popping up on the home screen. You will see a message about unable to fix corruption when booting up your phone just ignore it because when you unlock the bootloader, it has triggered the message to show on your boot up screen. Nothing you can do to remove the message except lock back the bootloader.
Download Files Here:
1. fastboot.zip
2. LGH830AT-FULLROOT.zip
3. LGH830_DLL.msi
4. LGUnitedMobileDriver.exe
5. LGUP_Lab_Frame_Ver_1_11.msi
6. no-verity-opt-encrypt.zip
7. SuperSU-v2.74.zip
No comments:
Post a Comment